After a season of constant use, your Lesco gun may start leaking from the nozzle when the trigger is closed. When this occurs it is time to rebuild the internal components. Rebuilding the internal seals is an easy job that can be completed in minimal time.
For this repair you will need the following:
- Phillips head and flat head screwdriver
- Pliers
- Seat removal tool (Part# GC-LST) or Small pick
- Lesco internal rebuild Kit # 007642
- Lesco valve seat # 007309
Start by rinsing the gun as best as possible to remove any excess chemicals. While you are rebuilding the internals you can clean the nozzle to remove any buildup that may have adhered to the inside.
Remove the four Phillips head screws from the handle of the gun. Once the screws have been removed the cover can be pulled off. Next remove the spring from the top pin by using the screw driver or needle nose pliers to lift up on the spring. Once the spring has been removed, use the pliers to remove the bottom pin that the trigger pivots on.
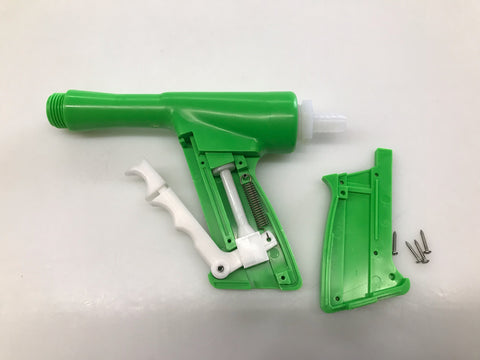
With the pin removed, the trigger assembly and the internal components will slide down and out of the gun. Remove the spring from the trigger to allow the internal components to be removed from the trigger. Place the new internal plunger (#007642) on the trigger along with the new spring, which will be installed after the valve seat has been changed.
Using a the seat removal tool or a pick, gently pull the internal valve seat out of the gun. With the valve seat out, inspect the internal of the gun body to ensure there is no damage.
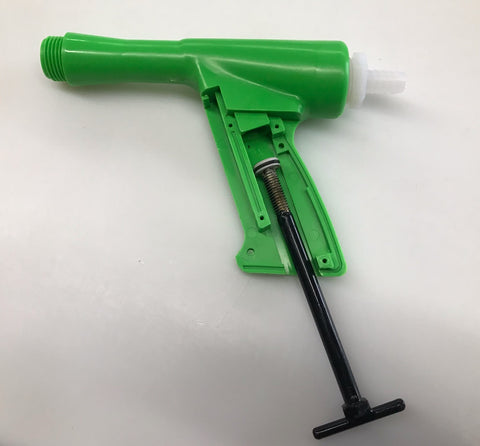
When installing the new valve seat ensure it is replaced in the correct direction. The flat surface side goes to the bottom, while the cupped side faces the up. It helps to add a thin layer of grease to the outer o-ring before sliding the valve seat into the gun. An easy way to install the valve seat with no damage is to use a deep socket with the same diameter as the Lesco gun internals. Get the valve seat started by hand, then using the deep socket tap the valve seat down until it reaches the stopping point. Don't use a pick or screwdriver to re-install as you may damage the new valve seat.
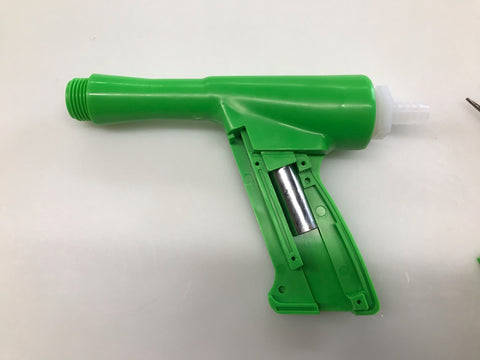
Once the new seat is in place, insert the internal assembly along with the the trigger and the pins. Replace the cover, followed by the four screws and you have successfully rebuilt the internal seals on your Lesco gun. Lesco recommends soaking the gun for 24 hours after rebuilding to allow the o-rings to swell and seat properly.
If you removed the nozzle for cleaning, reattach and your gun is now ready to be put back into service.


